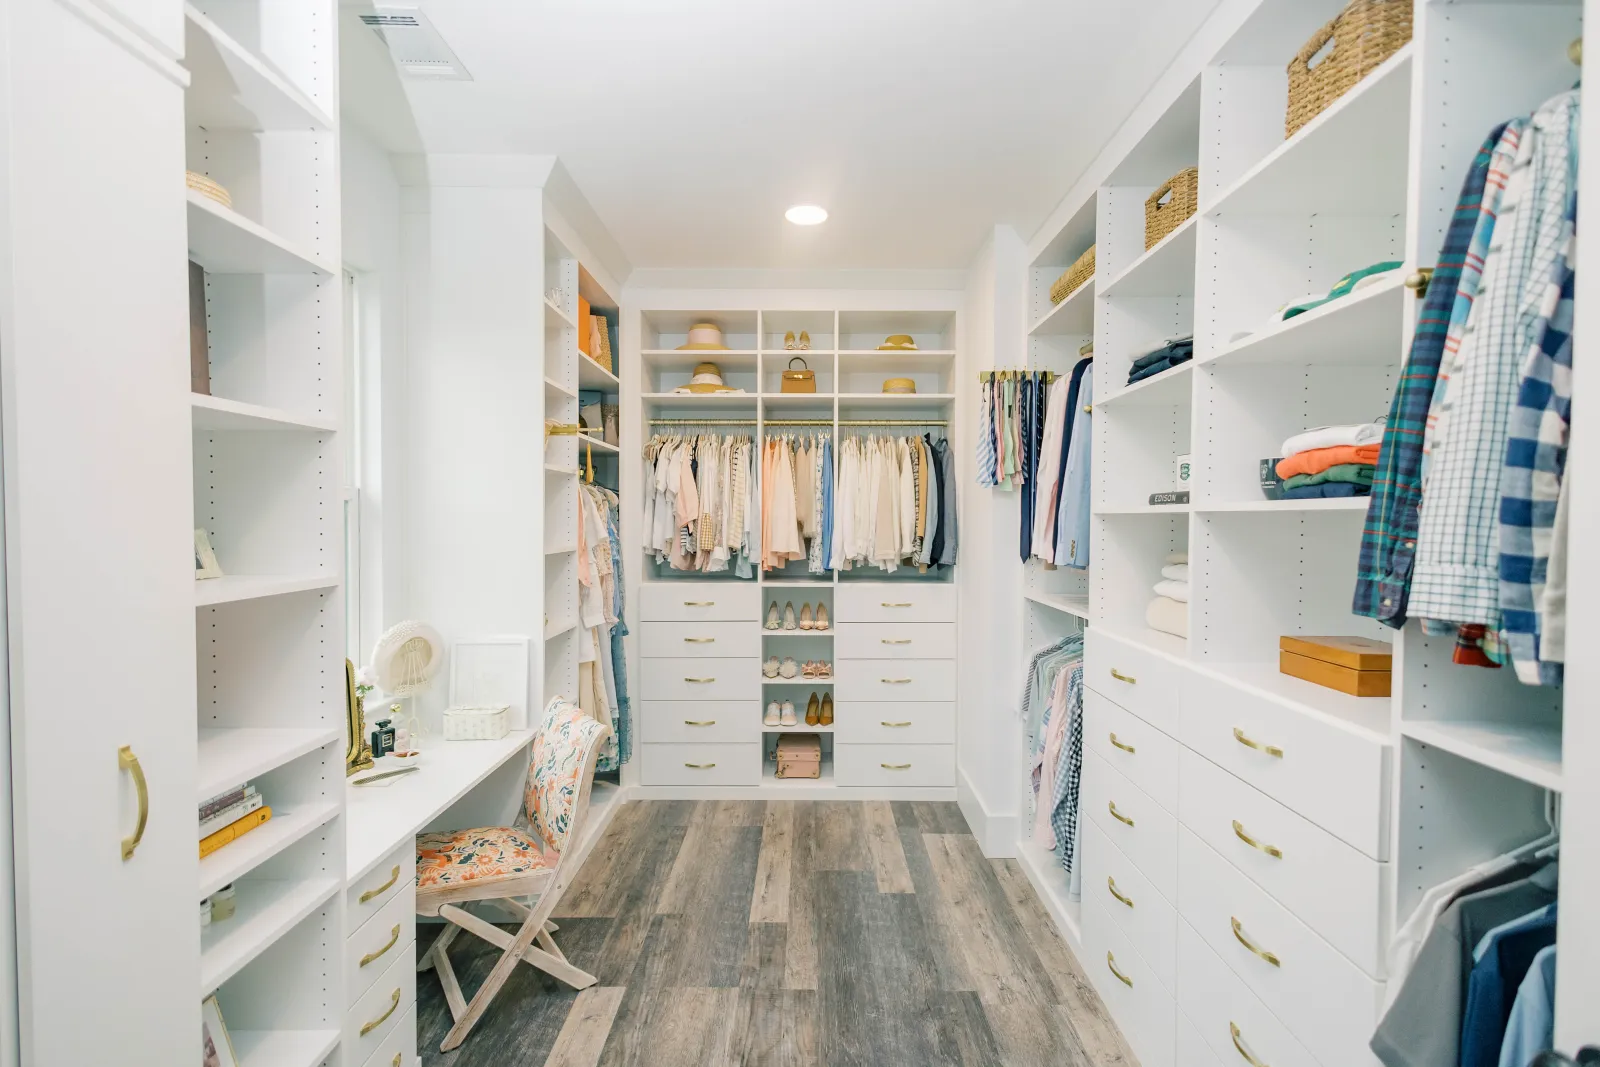
DIY Closets Seem Fun, Until You See the To-Do List
DIY Closets Require More Time
and Tools Than You Think
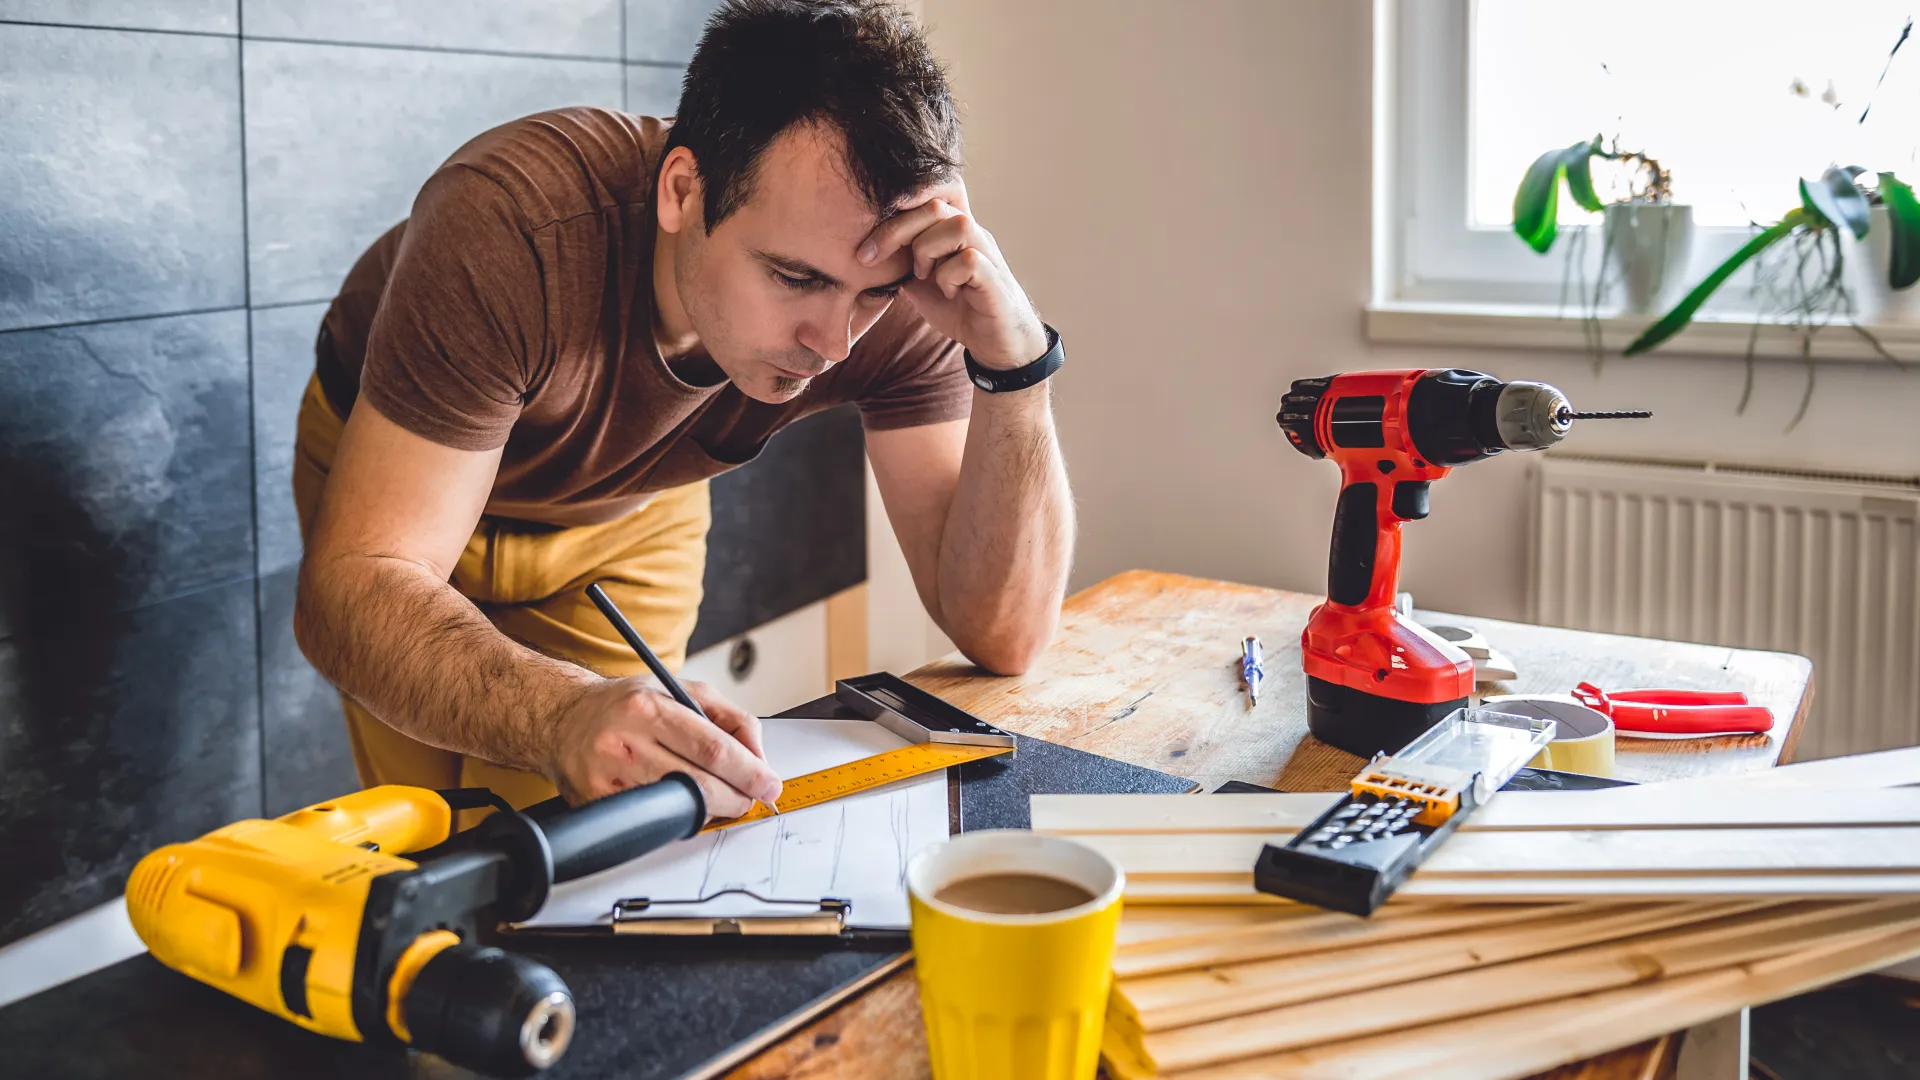
Planning a DIY closet project may sound exciting at first. But
once you look at the long list of tasks on the to-do list, from exact
measurements to closet design to cutting the materials, painting, and
installation, the project quickly turns into a major time commitment. Without
3D CAD design software, tools or installation support, mistakes can lead to wasted
money and a lot of frustration. That's why many homeowners realize that working
with a professional closet designer is not only easier, but also saves time,
stress, and costly mistakes. This is a to-do list of the steps that you'll need
to complete in order to design and install a DIY closet:
-
·Measure the space with exact measurements for your custom storage solution. If the measurements are not precise, it will cause a problem during installation.
Measure all of your hanging clothing in horizontal and vertical inches. Pants, dresses, skirts, tops and business suits will need vertical inches, so you can determine the height for the clothing rods. You'll also need to measure folded clothing for shelves or drawers and measure shoes for shoe shelves.
Take some of the clothing and shoes that you no longer wear to a local donation center.
Design the closet using exact measurements and taking all of the measurements for each type of clothing and shoes under consideration. This will be very time consuming without the 3D CAD design software that closet designers use and without the years of experience that closet designers have designing closets.
Buy all of the tools and materials for your dream closet. You will need an electric saw to cut your melamine, wood, plywood or MDF. You'll also need to buy closet rods, decorative hardware, a level, an electric drill, screws and more. Don't forget the paint or stain if you decide to use plywood, wood or MDF and paint for the walls.
Remove and discard the old closet shelves.
Patch the holes in the wall from the removed nails or screws. Fill the holes with spackle, let them dry and then use sandpaper to smooth it and wipe the dust.
Paint the closet walls and let them dry.
Repair or replace carpet or flooring if needed.
Precisely measure and cut the melamine, wood, plywood or MDF pieces for the closet.
Assemble and install the closet. Just a reminder that there is no customer service text or phone support to guide you through the installation process.
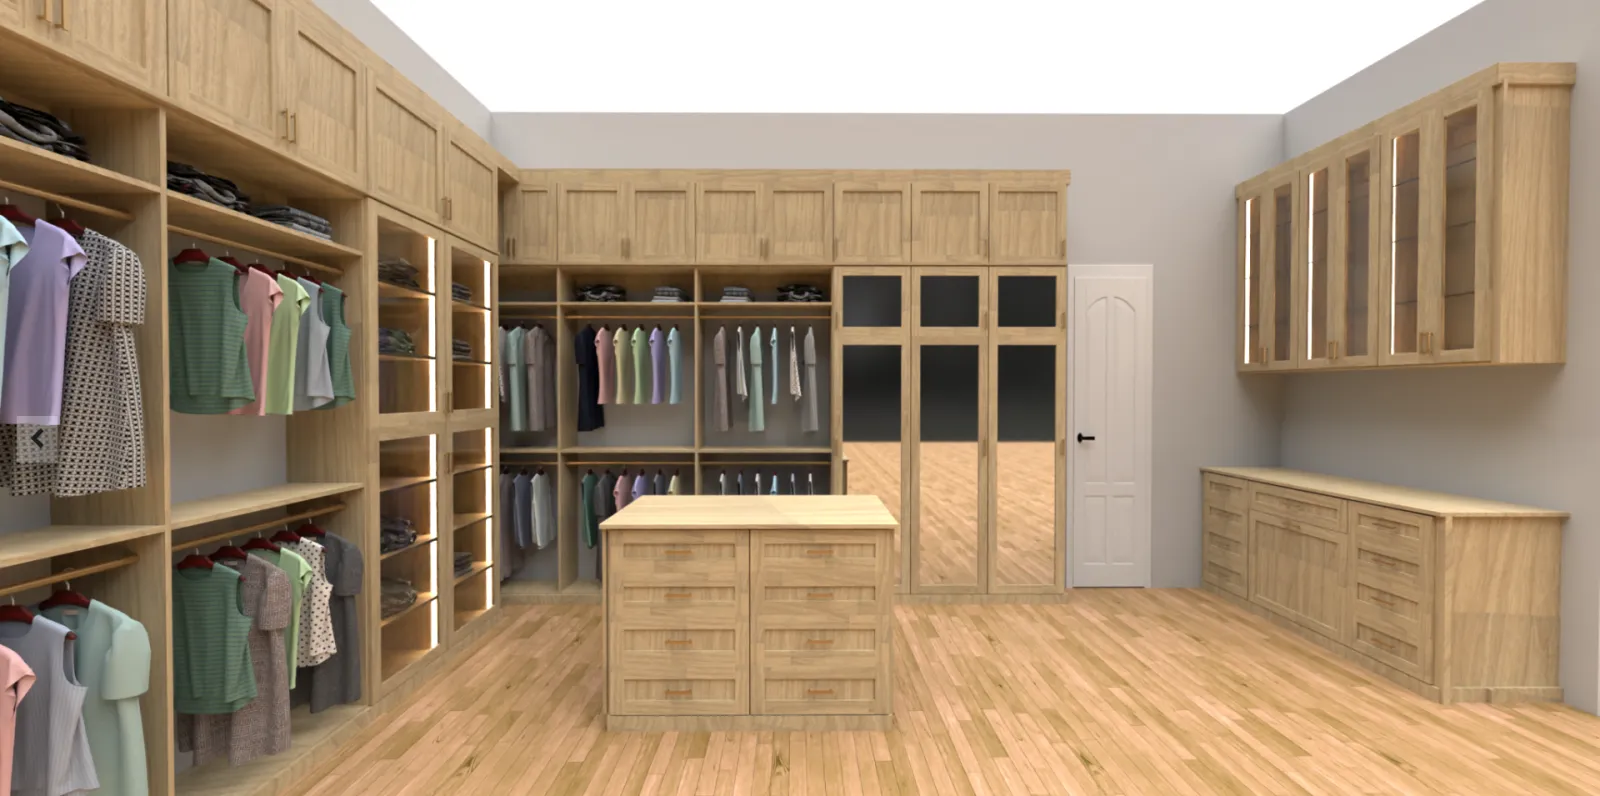
A Closet Designer Shares Expertise and Saves You Time - See Your Closet in a 3D CAD Design Before You Buy
A closet designer will meet with you for a free in-home
consultation to see your space and learn what's important to you for your
storage needs for your dream closet. Your closet designer will save you many
hours by:
- Precisely measuring the space for your custom storage solution.
-
Helping you choose the perfect closet style to match your lifestyle, budget and home décor.
Bringing samples of the thermal-foil melamine and decorative hardware to your consultation so you can choose what blends seamlessly with your home décor.
Using her design expertise by creating a beautiful and functional closet in a 3D CAD design that you will review. You'll have an opportunity to make any changes prior to installation.
The closet designer meets with the installation team prior to installation to review your design and ensure that the installation will go smoothly.
The installation can take one to two days depending on the size of your closet.
DIY closet systems might seem easy, but they aren't. Once you add up the time, expense, design work, materials and installation, using a custom closet company seems like a bargain by comparison.
SpaceMakers Closets has endless
closet customization options, like wardrobe bars, tilt-out hampers, tie
and belt racks, jewelry trays,
and shelves designed for shoes, boots, and handbags. Contact us to schedule a
free in-home consultation.
A Walk In Closet With Built-In Beauty